
Health officials are finally saying what should have been said when it was first evident that good, effective N95 masks weren’t available and weren’t coming: that we all need effective masks to protect ourselves, not just any wound up t-shirt or gaiter. Home-sewn and no-sew masks made with good materials with construction can do a great job. I originally posted fabric-fit-filter information in The M Word; this easy no-sew version provides the same protection.
(By the way, boxes marked “N95” are finally on store shelves now, but I wouldn’t necessarily put a lot of faith in all of them. I tried one on this past weekend that provided completely unrestricted air flow, had many lines of holes in it, didn’t have the proper labeling, and wasn’t on the list of certified manufacturers I found online. I still believe making our own is the best option until the medical-grade surgical variety masks are widely available.)
Gather your materials
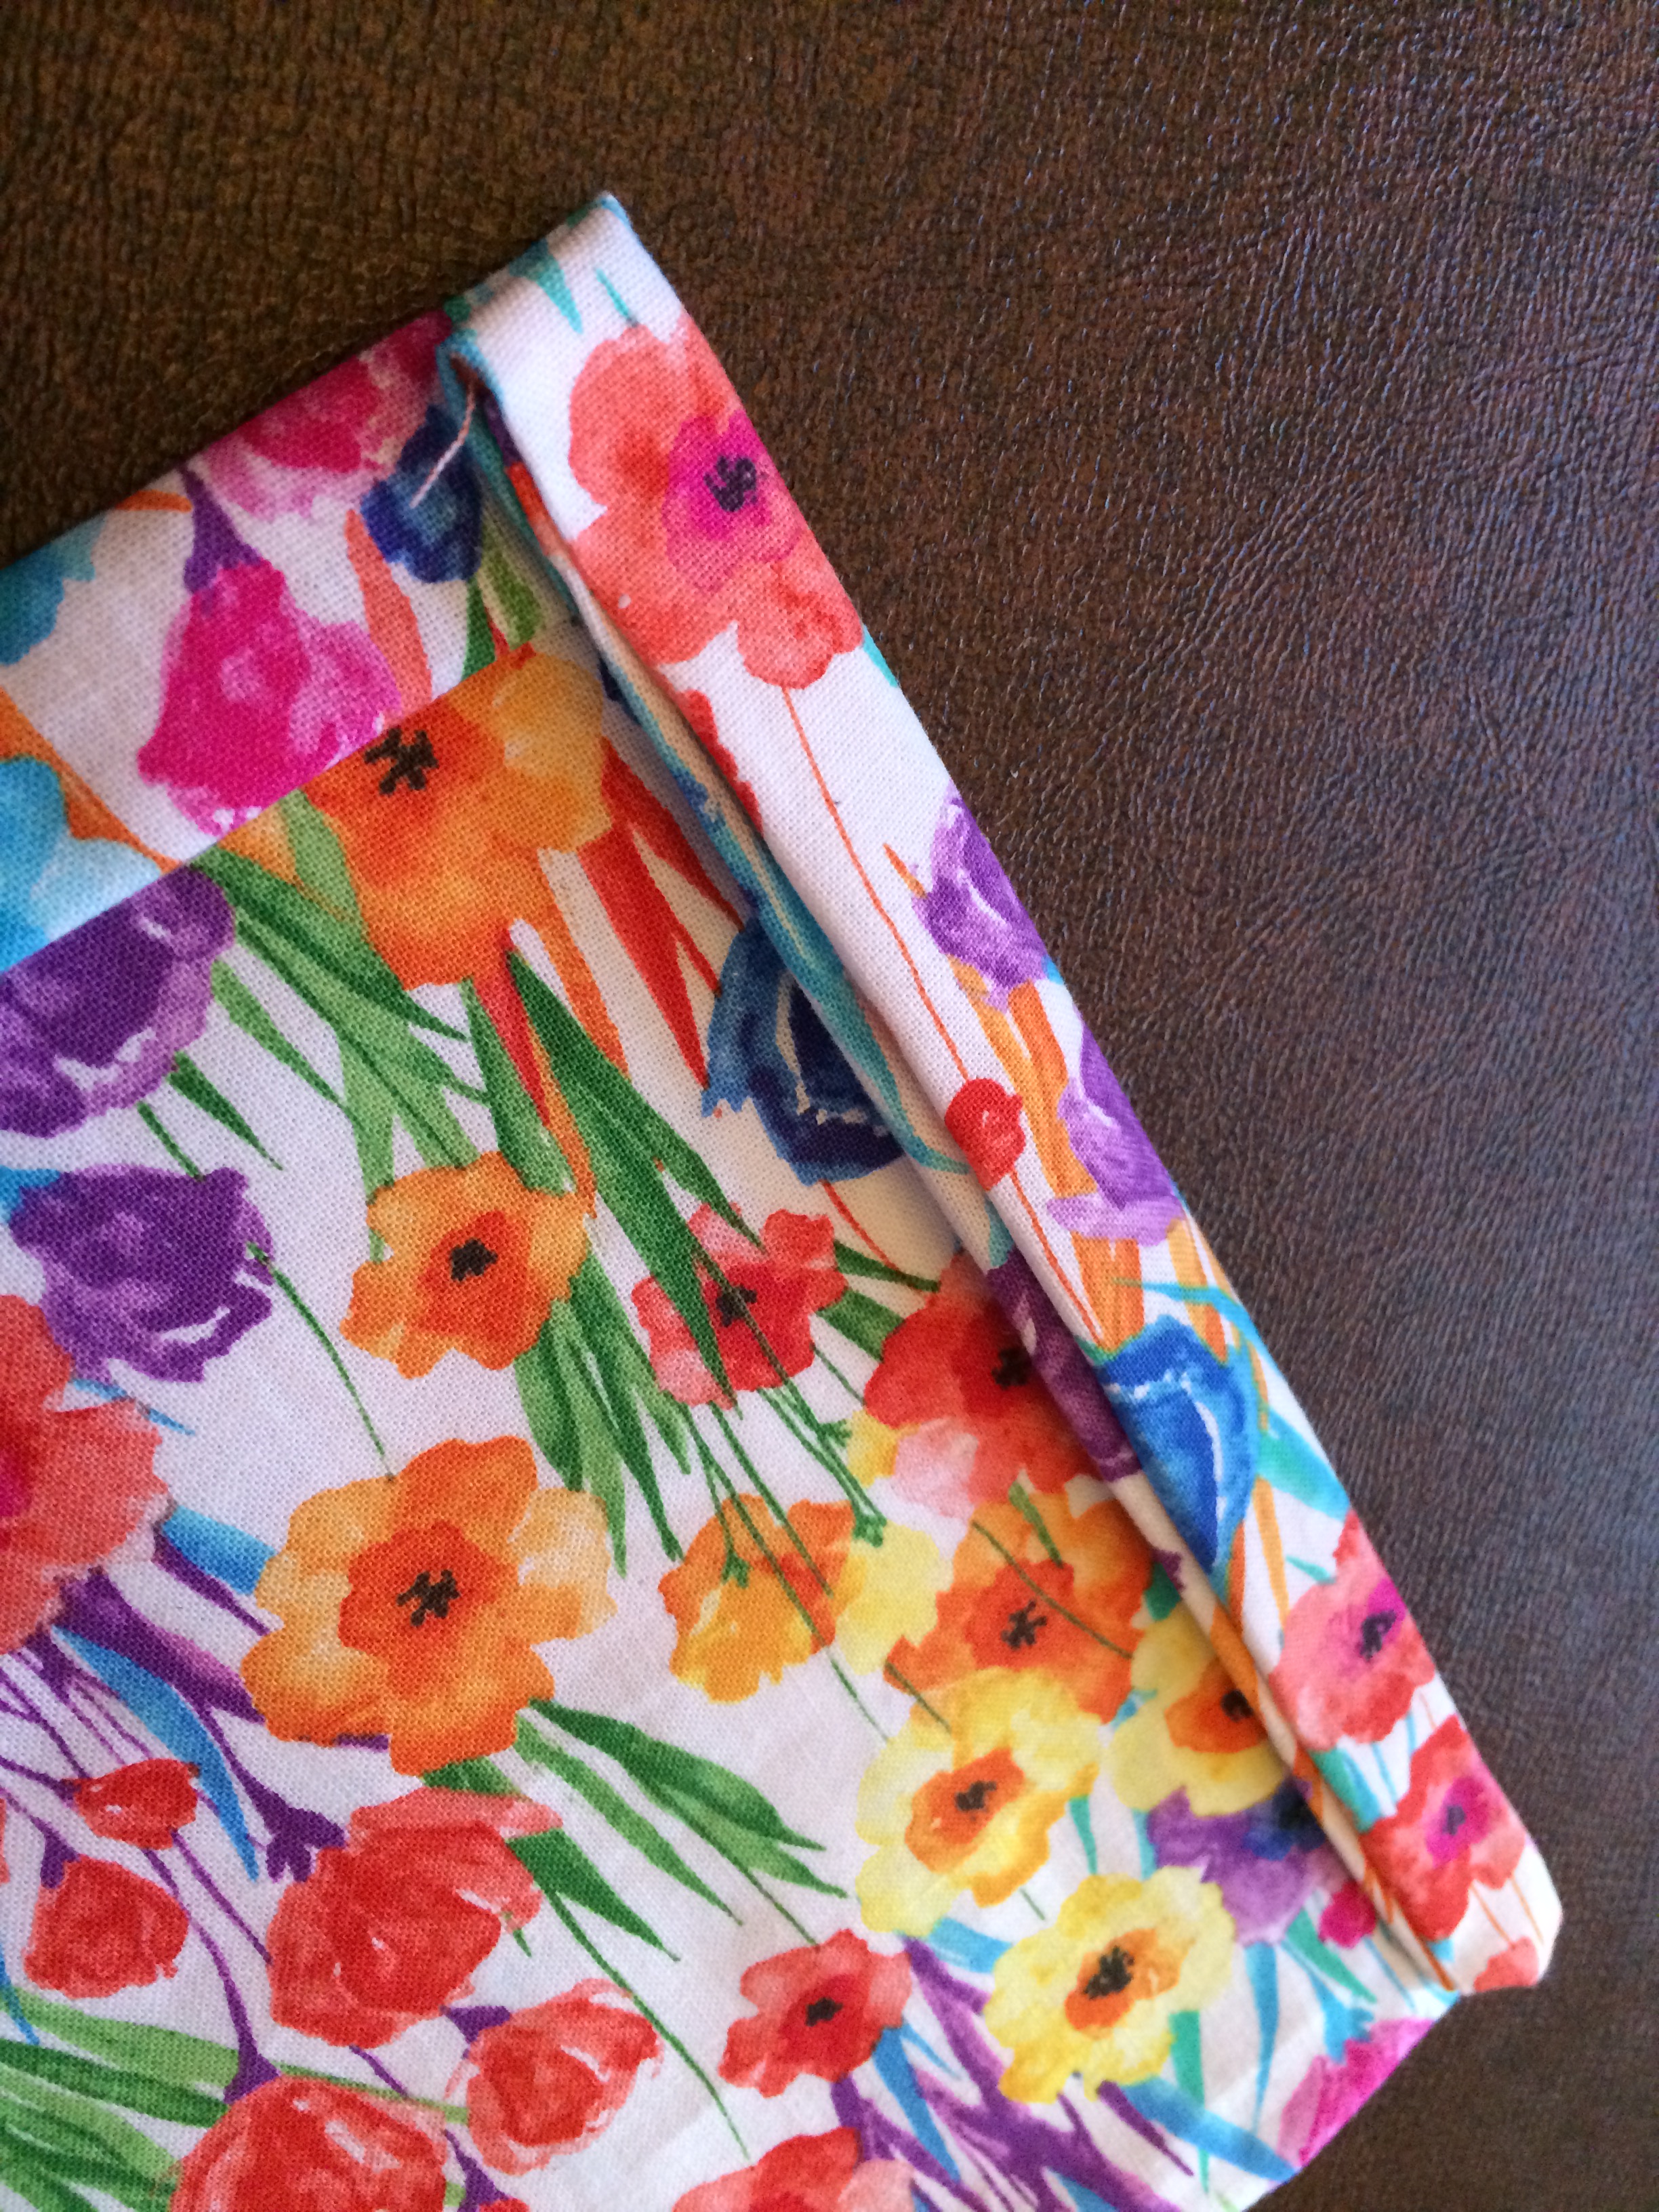
Fabric — I use quilter’s cotton for its higher thread count to block more microscopic particles. Note that you’ll likely get the most masks for your dollar with non-directional fabric that you can cut in any direction and it will look the same, but directional “picture” fabrics are personal and fun.


Filter — I see that several sites now have filter recommendations. However, for pocket-style masks, I still use all of my original materials choices. For the masks I make now, I use sew-in non-woven Pellon. (If you have an iron, the fusible version also works.) Note that it some of the weights are too heavy to be breathable, and some of the styles are woven which you don’t want. Buy a fairly light weight, non-woven style. Here is a nice pre-purchase site to figure out weight and style.

Fit — Comfort helps encourages consistent wear, but a mask is only as effective as the seal. Adjust the cutting guide up for larger faces, down for children; and adjust the elastic to pull securely without bending ears down. And use a wire to seal across the nose.
A good wire across the bridge of the nose helps prevent air infiltration without steaming up glasses. I buy 5mm flat wire sold by the coil on Amazon. It is easy to cut, softly bendable for a good fit, and tolerant of shaping and reshaping in and out of the laundry. It is by far the best solution I’ve found. (Tip: this is especially helpful for this version because you can cut it long enough to stay in place without sewing it into a pocket for it.)

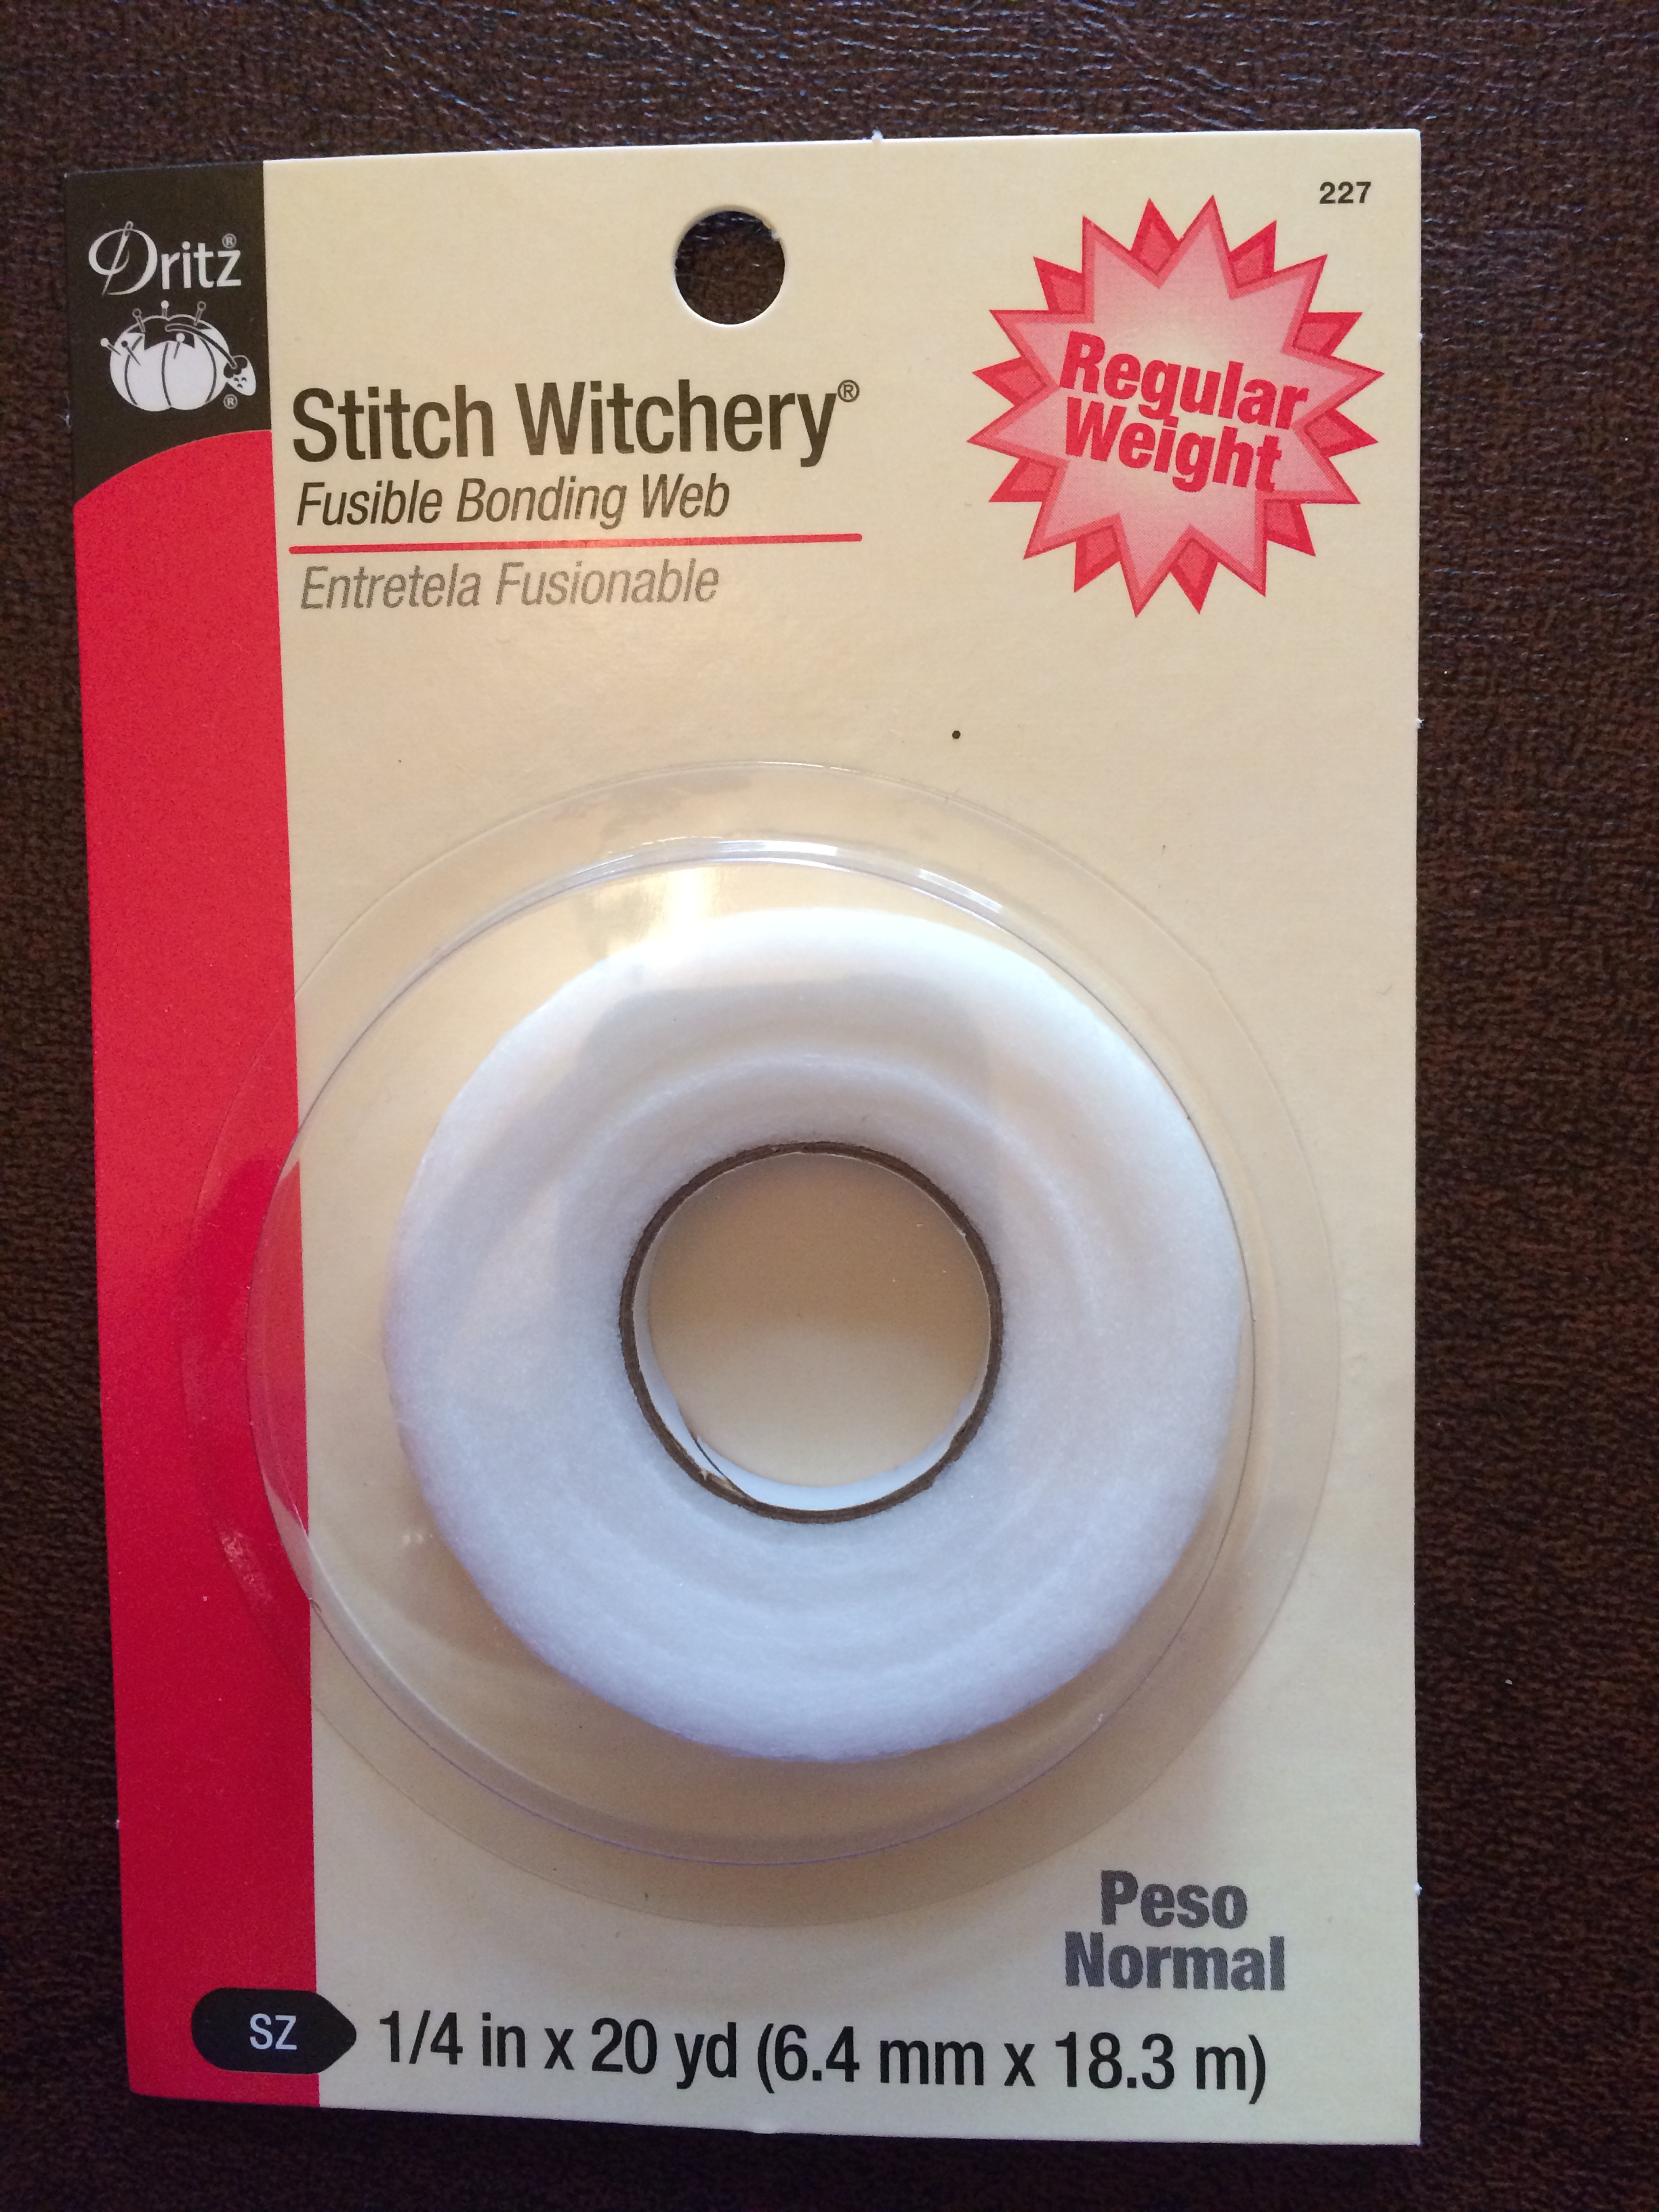
Also needed — Scissors, a tape measure, ruler or yard stick; 1/4″ elastic, and fabric glue. I used and tested Dritz Unique Sew fabric glue for the first time. It was a win! It dries quickly, holds well, and doesn’t fall apart washing and drying. If you have an iron, Dritz makes fusible bonding web called “Stitch Witchery” that also looks like it would work well.

Instructions
- Measure and cut your fabric. For an adult mask, I start with 10″ wide by 15″ long. If your fabric has a directional pattern (looks best one certain way), make sure to cut your fabric accordingly. I measured the directional mask I made for this post with the longest sides, 15″, going with the grain (lengthwise on the fabric) and cut a piece 10″ wide.


2. With the mask vertical on the table in front of you, bring the bottom corners up to 1 1/2″ from the top edge, right sides together.

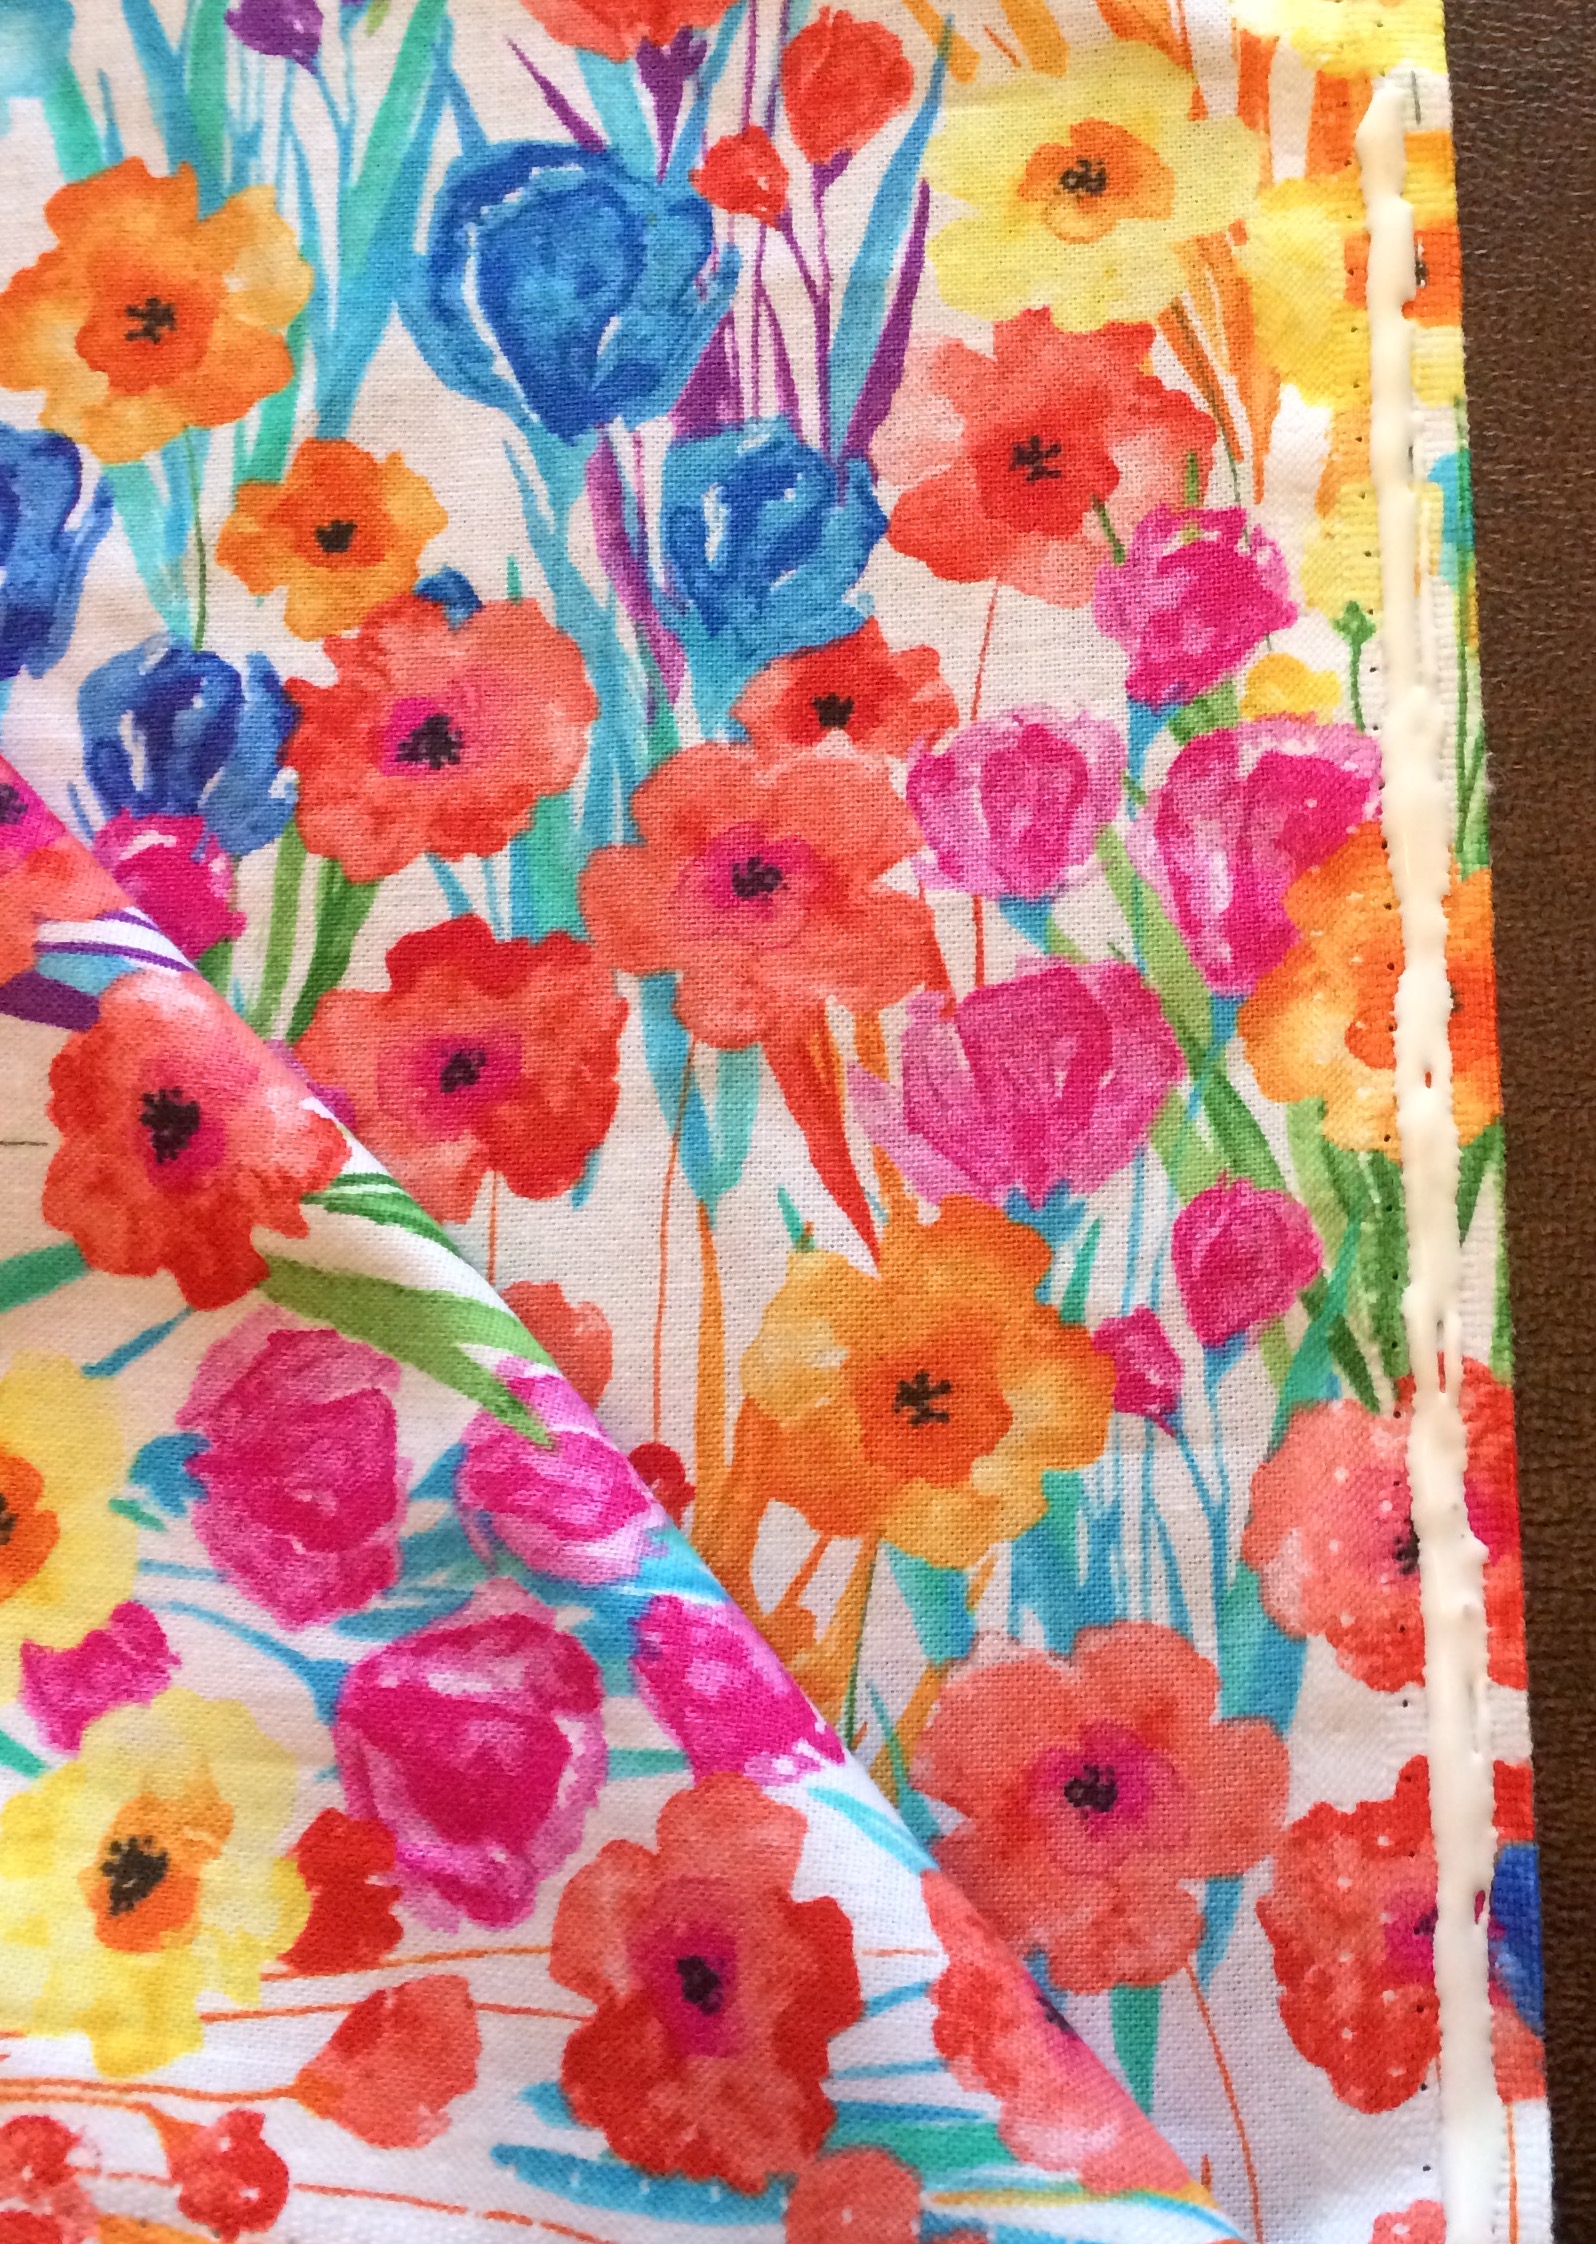
3. On inside right and left edges, run a thin line of fabric glue to seal this envelope. Finger press both edges and let dry. Also apply the interfacing filter to the wrong side of the fabric (it’s the side that’s still showing) with a few lines of glue. With this dimension of mask, the filter would be approximately 10″ wide by 6 1/2″ tall.

4. When the envelope is dry, carefully turn it right side out (showing.) The side edges will be tucked inside glued in place, and the interfacing will also be glued to the inside. *If I completely confused you in the previous step, just glue the interfacing to the inside now. 😉
5. Turn the topmost edge down 1/2″ and finger press. I don’t use pins to avoid creating holes.

6. Run a line of glue from side to side along the lower loose edge.
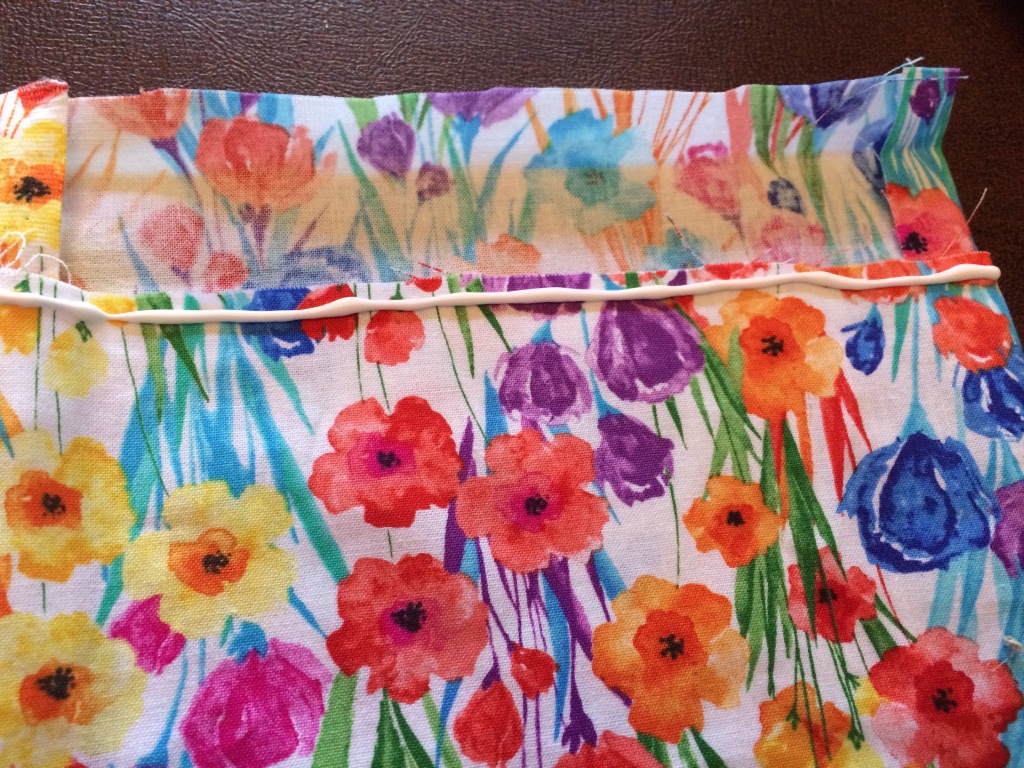
7. Turn top seam (already pre-creased to 1/2″) down another 1/2″ and pull down to press along the glue line. This will create the channel for the nose wire. This picture shows the doubly folded top which will be on the back of the mask.

8. Cut and insert your wire. Measure it to be about 7″ long and center it. You want it to stay in place but not interfere with the sides you’ll be folding over for the ear elastics.

9. Make the two side channels for the ear elastic. Draw a line of glue a little less than 1″ from the edge, fold each side over to the glue, finger press and hold for a minute or so to secure. * Make sure to leave enough unglued space to insert the 1/4″ elastic. Let dry for a few minutes.

10. Cut and insert the elastic. The length of the elastic is the only tricky part of this project. I tried 3 lengths before finally getting mine right. To keep it simple, I would cut each approximately 12-14″, tying them in loose knots and trying them on. If the ties are too short, they’ll bend down ears; but it’s easy to cut off an extra inch or two. I attach one loose end of the elastic to a safety pin, push it through easily, then tie it.

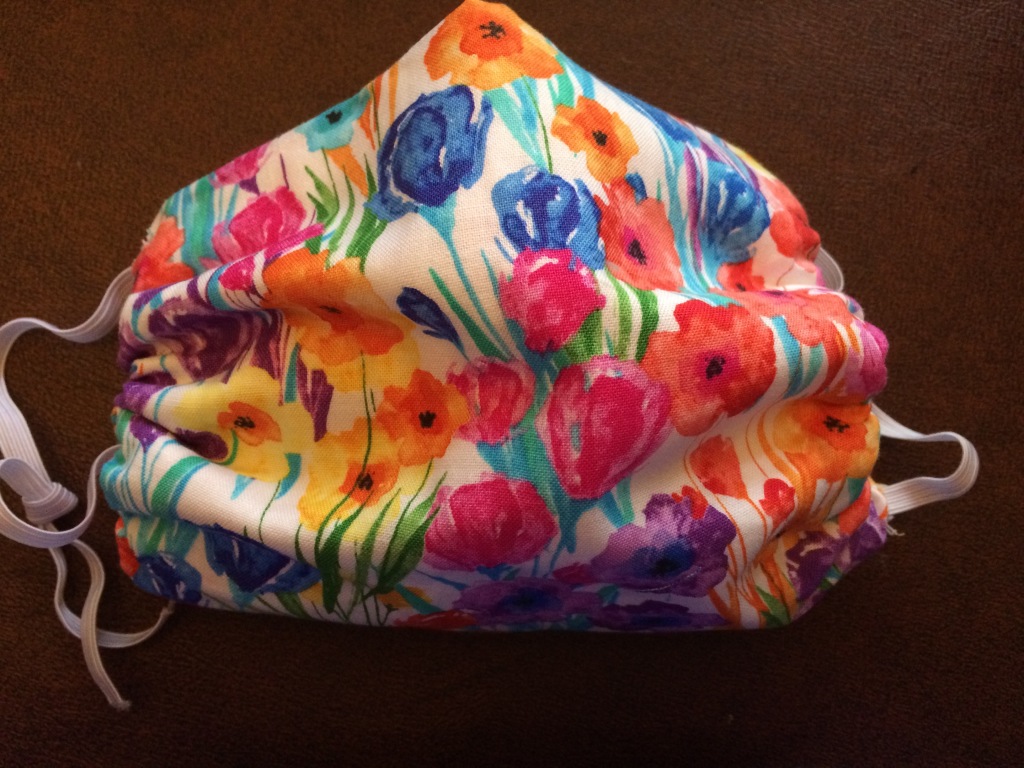
Done! ~Just about as difficult as making a paper envelope. Fold and glue, and you’ll have two layers of tightly woven cotton, a nonwoven filter, and a nose wire, all washable. Make enough to wash them daily, even in the sink with soap and hot water, for extra protection. 🙂
Thank you for reading. I really hope this helps.


I have been wondering how to make these – thank you!!!
LikeLiked by 1 person
You’re welcome! And thank you, too. I hope it’s helpful.
LikeLiked by 1 person
Thanks for the step by step tutorial with pictures! I love the fabric color by the way!
LikeLiked by 1 person
Thank you! Only when I’d finished it did I think to use a fall or winter fabric. *Sigh!* 🙂
LikeLiked by 1 person
😆 love it!
LikeLiked by 1 person